Convert Text to Cursive Handwriting
Convert typed text to cursive handwriting pages with HandtextAI. Learn when to use cursive generators, cursive fonts, Print mode, and Photo mode.
If you search for convert text to cursive, you may be looking for one of several different things. Some tools turn normal letters into decorative cursive-style characters you can copy and paste. Some tools only apply a cursive font inside a word processor. HandtextAI is different: it converts typed or pasted text into realistic handwritten-looking pages and images.
That difference matters. A copy-paste cursive text generator is useful for a username or a short caption. A handwriting generator is useful when you want a full page, study note, homework assignment, letter, postcard draft, or printable handwritten document.
Short answer
To convert text to cursive handwriting in HandtextAI, paste your text into the editor, choose Print mode for a clean page, pick a cursive-friendly handwriting font, adjust spacing and margins, preview the page, then download the finished handwritten result. Use Photo mode only when you want the output to appear inside a notebook-style scene.
What "convert text to cursive" can mean
The keyword is broad, so the right tool depends on the result you need.
| Goal | What it creates | Best for | Limitation |
|---|---|---|---|
| Cursive text generator | Decorative copy-paste characters | Short names, bios, captions, labels | Not a handwritten page |
| Cursive font in Word or Docs | Typed text styled with a font | Quick mockups, simple printable text | Often looks flat and too uniform |
| Text to cursive handwriting page | Handwritten-looking document output | Assignments, notes, letters, printed pages | Needs preview and layout tuning |
| Notebook photo output | Handwriting placed into a scene | Visual examples and notebook-style images | Not the best path for clean printing |
For realistic handwritten output, focus on the third path: turn typed text into a page that looks handwritten, then adjust the page until it reads naturally.
How to convert text to cursive handwriting in HandtextAI
The simplest workflow is to start with a clean page. Cursive handwriting is harder to read than print-style handwriting, so spacing and margins matter more than decorative effects.
1. Paste or type your text
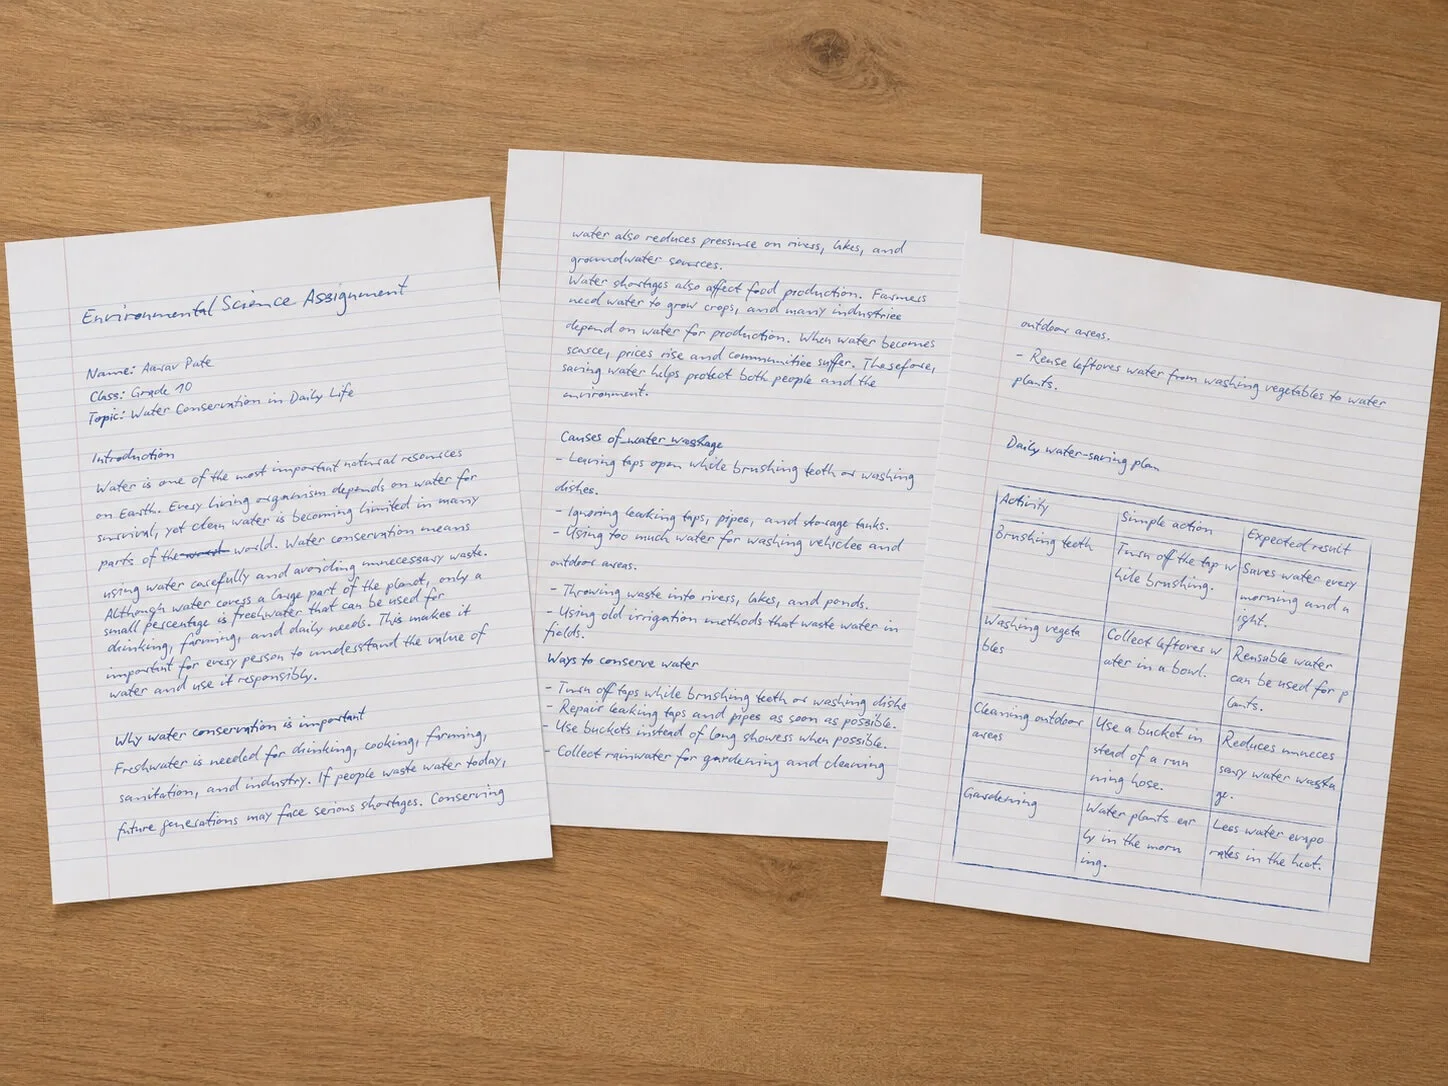
Open HandtextAI and add the text you want to convert. The strongest fit is normal document text: paragraphs, short lists, headings, class notes, homework assignment text, letters, or business note copy.
Keep the first test short. A paragraph or half page is enough to choose the right handwriting style before generating a longer document.
2. Choose Print mode first
Use Print mode when you want a clean handwritten page. Print mode is the best starting point for cursive assignments, study notes, handwritten letters, and documents you may save or print.
In Print mode, paper styles and page layout are the main controls. Use plain, lined, ruled, grid, or exercise-book style paper depending on the job.
3. Pick a cursive-friendly handwriting font
Choose a handwriting font that matches the job:
- Use a clear cursive style for longer notes and homework assignment pages.
- Use a more decorative cursive style for cards, greetings, personal letters, or short messages.
- Use a custom handwriting font if your plan supports custom font upload and you need a specific personal style.
Do not judge the font from one word. Test a full sentence with ascenders, descenders, punctuation, and numbers so you can see how the writing flows across a line.
4. Adjust spacing before effects
Cursive needs room. If the page looks crowded, adjust the basics first:
- Font size
- Line height
- Word spacing
- Letter spacing
- Left and right margins
- Top and bottom margins
Small spacing changes often make the result look more natural than adding blur, shading, or texture.
5. Preview the page
Generate a preview and check three things:
- Can you read it without zooming in?
- Do lines break in natural places?
- Is there enough white space around the writing?
If the page feels dense, reduce the font size slightly, increase line height, or widen the margins. Preview again before downloading.
6. Download the handwritten result
When the preview looks right, download the finished pages in a file type available on your plan. ZIP image downloads are available broadly, while paid plans unlock more download options and higher quality settings.
For clean printed pages, PDF is usually the most convenient export when your plan includes it. For images, JPEG and PNG availability depends on your current plan.
Print mode vs Photo mode for cursive
HandtextAI has two output models, and they solve different jobs.
| Output model | Use it when | What it controls |
|---|---|---|
| Print mode | You want clean handwritten pages for assignments, notes, letters, or printing | Paper style, format, margins, spacing, page fit |
| Photo mode | You want the handwriting to appear inside a notebook-style scene | Notebook scenes and photographed-style presentation |
For most people trying to convert text to cursive, Print mode is the correct first choice. It gives you the cleanest control over the page.
Photo mode is useful when the final image should look like a notebook photo. It is not the default choice for a printable page.
Cursive settings that matter most
The best cursive results usually come from simple settings used carefully.
Handwriting font
The font determines the personality of the output. Pick the font before changing small settings, because spacing that works for one cursive style may not work for another.
Font size and line height
Cursive letters connect and overlap visually. A slightly larger line height makes long passages easier to read.
Word and letter spacing
If letters feel disconnected, reduce letter spacing. If words blend together, increase word spacing. Adjust in small steps.
Margins
Margins make handwritten pages feel intentional. Tight margins often make the result look like a digital document wearing a handwriting font.
Paper background
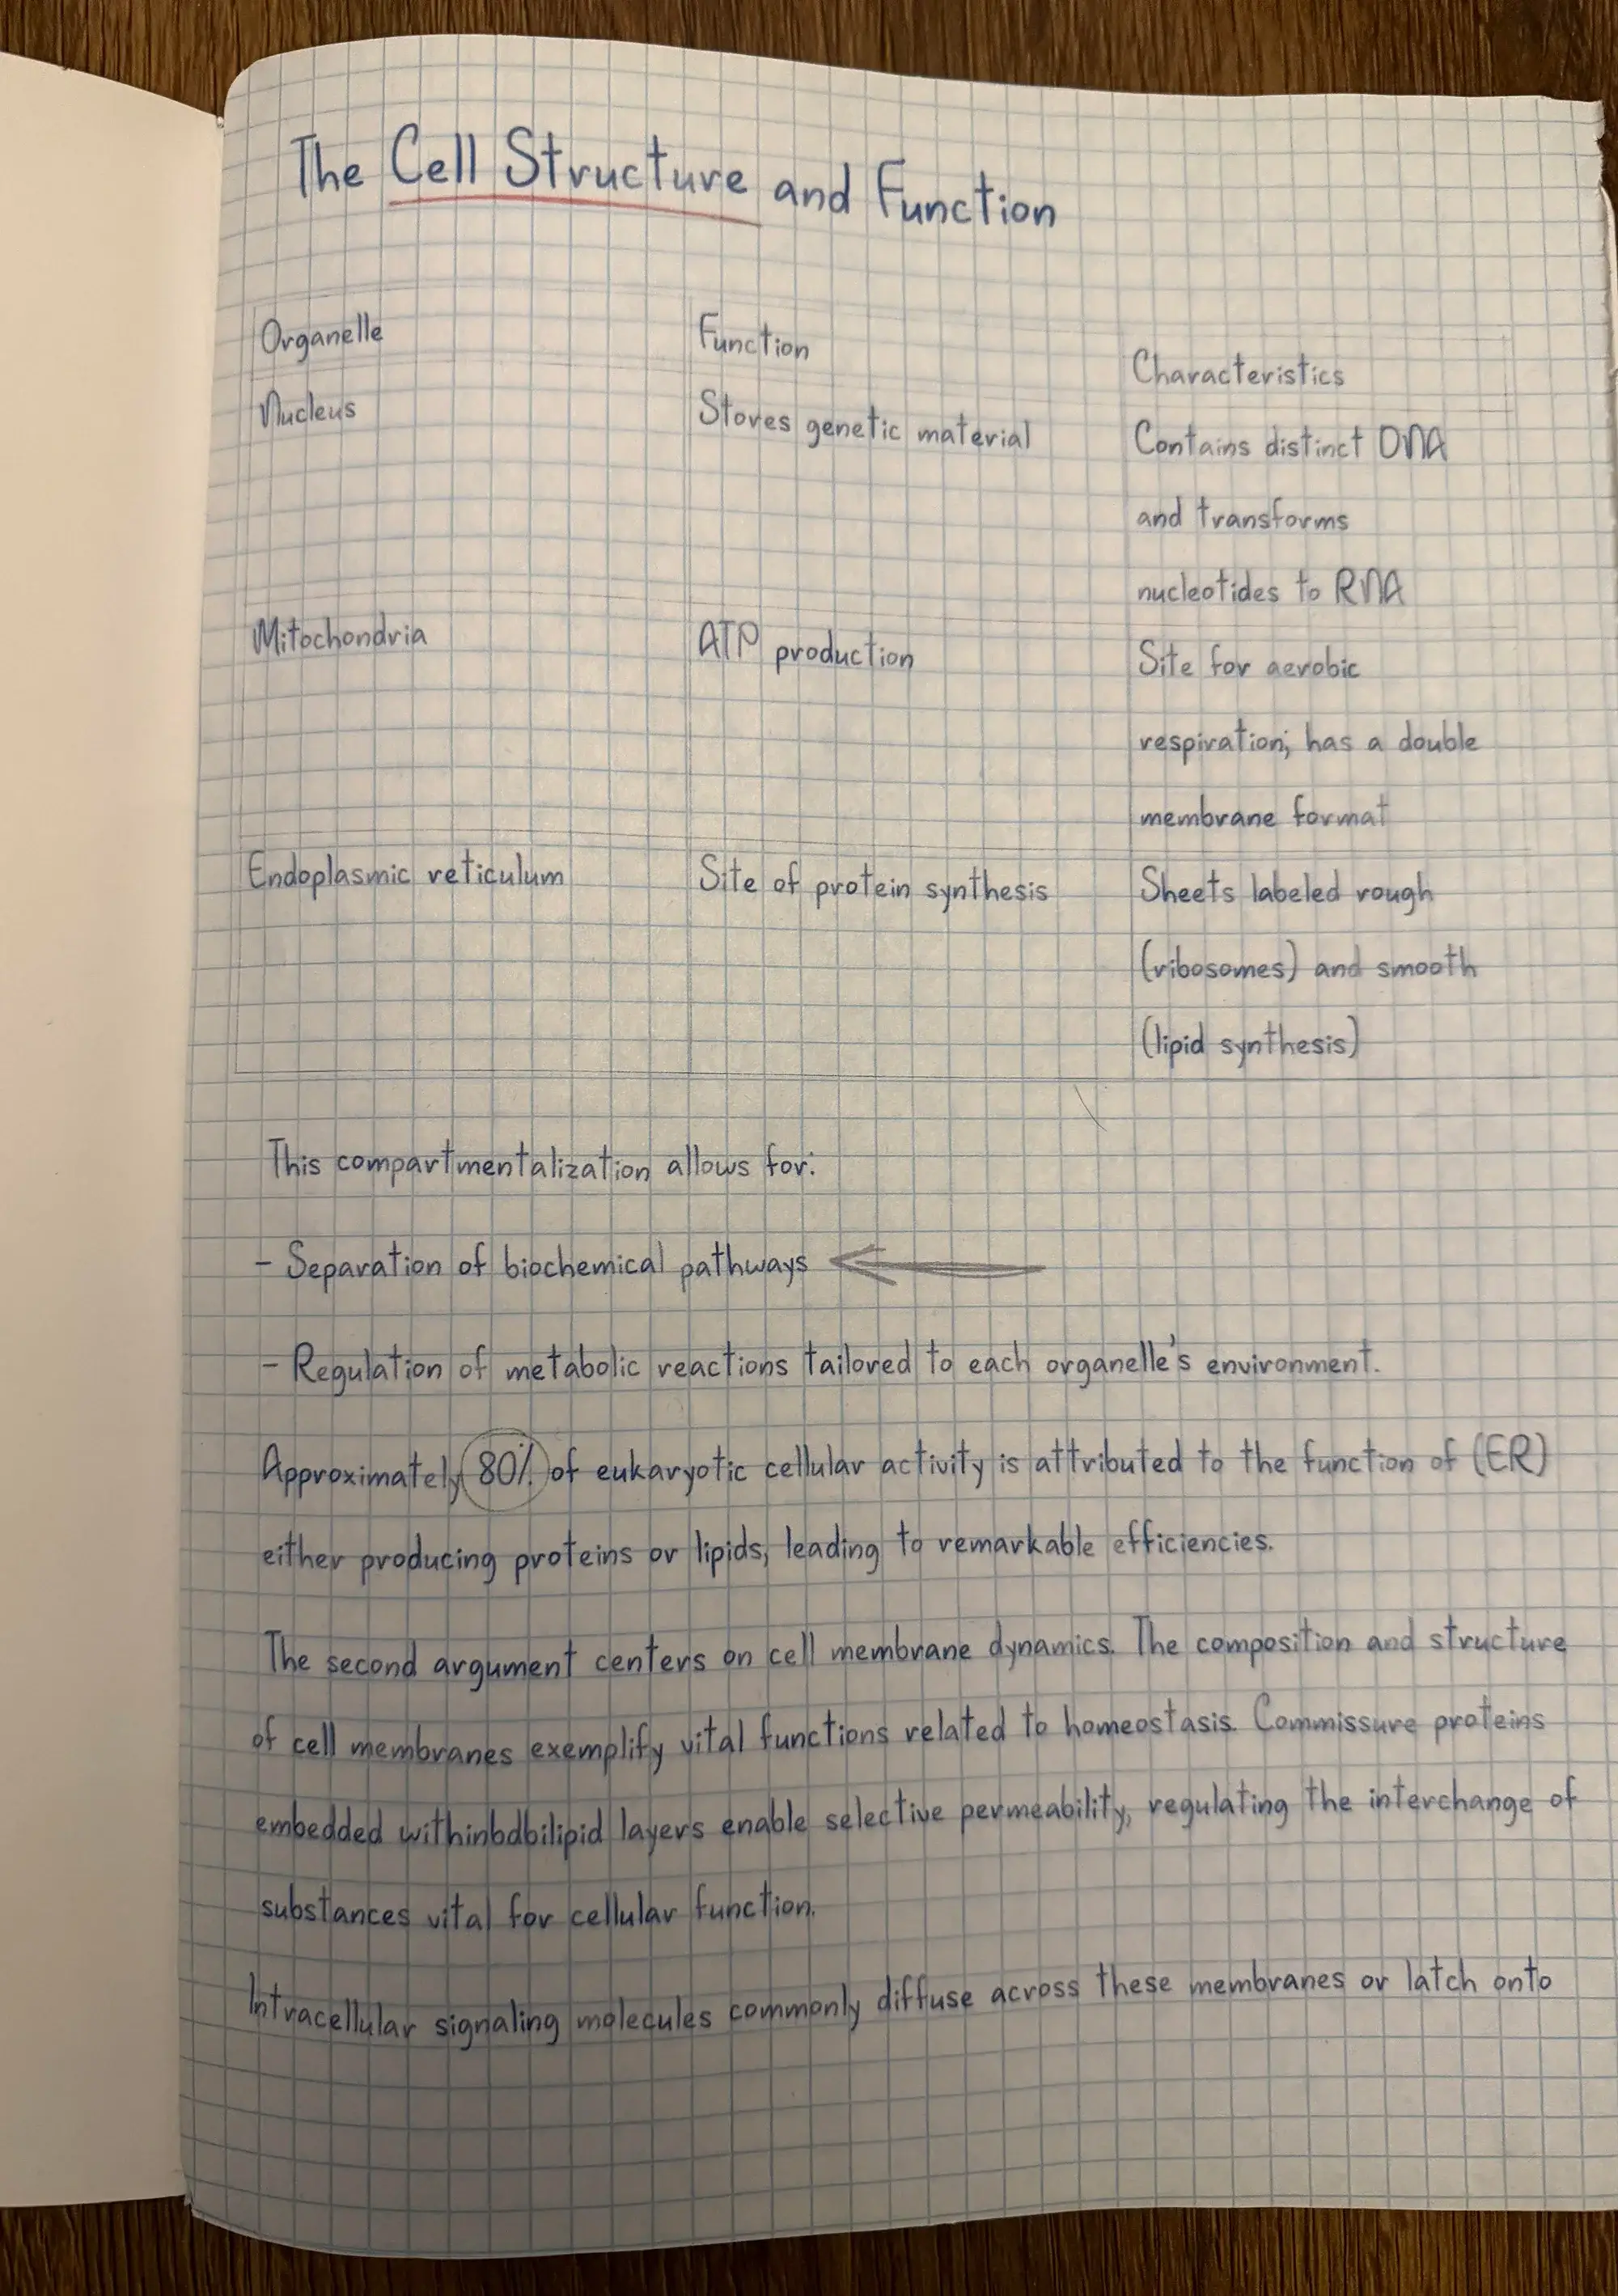
Lined and ruled paper are strong choices for homework assignments and class notes. Plain paper works better for letters and business notes. Grid paper can work for study notes, diagrams, or structured content.
Realism controls
Use effects lightly. Ink flow, subtle rotation, shading, blur, and texture can help, but they should not become the main point. If an effect makes the text harder to read, reduce it or turn it off.
Best uses for converting text to cursive
Homework assignments and class pages
Use Print mode, lined paper, readable cursive, and enough line spacing. Preview carefully before downloading so the page looks natural and the text fits.
Study notes and exam prep
Cursive can make study material feel more personal, but readability should come first. Use headings, short lists, and clear spacing.
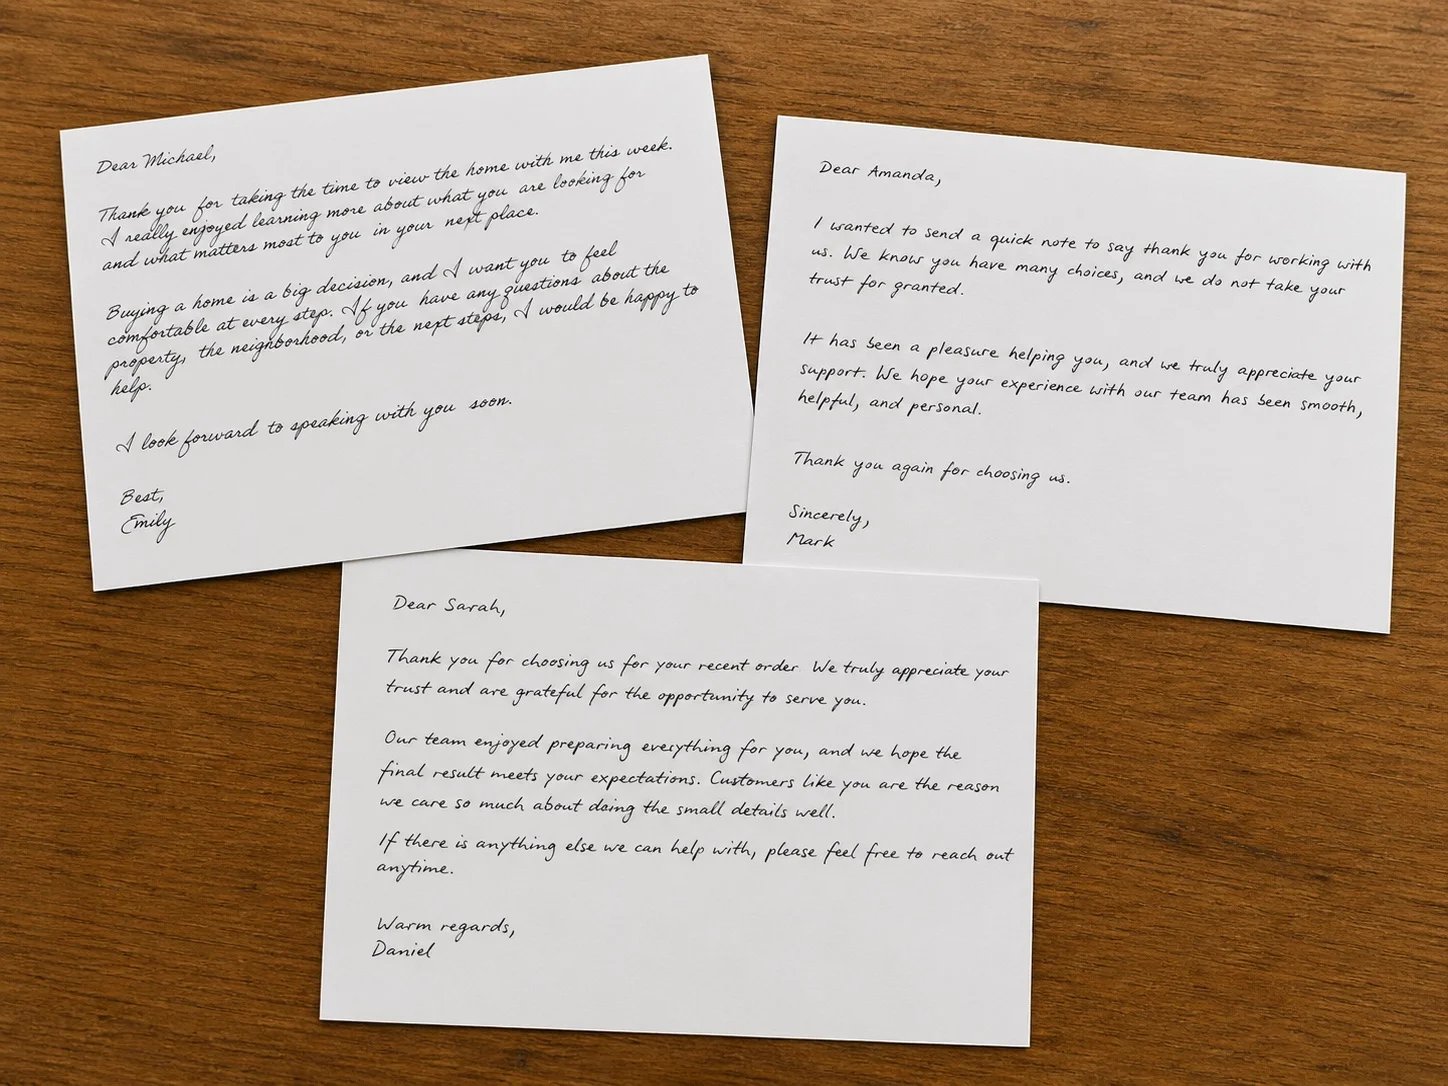
Personal letters and cards
Cursive works well for thank-you notes, greetings, invitations, and personal messages. Use plain paper or a clean printable layout.
Formal letters
For formal or administrative letters, choose a restrained handwriting style. Decorative cursive can look polished in short sections, but a cleaner script is easier to read.
Business postcards and direct mail
For repeated business notes, postcards, greeting cards, or direct mail, the manual web editor is not always the best workflow. Use API access for B2B print workflows and repeated personalized output.
Cursive text generator vs handwriting generator
A cursive text generator usually changes characters. A handwriting generator changes the whole presentation.
If you only need a stylish line of text, a decorative cursive text generator may be enough. If you need a page that looks handwritten, you need page-level controls: font, paper, margins, spacing, preview, and export.
That is where HandtextAI fits. It is primarily a typed-text-to-handwriting page generator, not a full design tool and not a copy-paste cursive text converter.
Common mistakes to avoid
Choosing Photo mode too early
Start with Print mode unless the final result needs a notebook scene. It is easier to make a readable handwritten page first and choose a scene later if needed.
Using decorative cursive for long text
Highly decorative cursive can look good in a title or short message, but it becomes tiring on a full page. Use cleaner cursive for assignments, notes, and letters.
Adding effects before the page is readable
Effects cannot fix poor spacing. Set font size, line height, word spacing, and margins first.
Skipping the preview
Always preview before downloading. Cursive can change the feel of line breaks and page fit more than print-style handwriting.
Limits to know
HandtextAI currently accepts up to 700,000 characters of document text for previewing, generating, saving, and updating documents. If your document is longer than that, split it into smaller parts before generating.
PDF download currently supports up to 500 pages in one PDF. Each page included in the PDF can be up to 20 MB, and one PDF download can use up to 120 MB total. If your PDF is too large, try Regular quality or download fewer pages at a time.
FAQ
What is the best way to convert text to cursive?
The best way depends on the output. Use a cursive text generator for short decorative copy-paste text. Use HandtextAI when you want typed text converted into realistic cursive handwriting pages or images.
Can I convert typed text into cursive handwriting?
Yes. In HandtextAI, paste your typed text, choose Print mode, pick a cursive-friendly handwriting font, adjust spacing and margins, preview, and download the handwritten pages.
Is cursive text the same as cursive handwriting?
No. Cursive text usually means decorative characters or a cursive font. Cursive handwriting means the text is presented as a handwritten-looking page with paper, spacing, margins, and export controls.
Should I use Print mode or Photo mode for cursive?
Use Print mode for most cursive handwriting pages, especially assignments, study notes, letters, and printed documents. Use Photo mode only when you want the result to appear inside a notebook-style scene.
Can I print the cursive handwriting pages?
Yes. Print mode is the best path for printable cursive handwriting pages. Choose a paper style, preview the layout, and download in a file type available on your plan.
Can I use my own cursive handwriting?
Yes, if your plan supports custom font upload. First create a custom handwriting font, then upload it to HandtextAI and use it like a built-in font. See the custom font guide for the setup path.
Does HandtextAI work for languages other than English?
HandtextAI can be used with multilingual text when the selected handwriting font supports the characters you enter. If characters render incorrectly, choose a font with better character coverage or use a custom font that supports the needed script.
Start converting text to cursive
For a realistic cursive page, start with a short paragraph, choose Print mode, pick a readable handwriting font, and preview before downloading. Once the style looks right, apply the same settings to the full document.
Open HandtextAI or read the full how-to-use guide for a broader walkthrough of typed text to handwriting, Print mode, Photo mode, plan options, and downloads.
If you are converting longer study material, use the class notes guide. If the cursive output is for a letter, card, or business message, read the personalized handwritten notes guide.